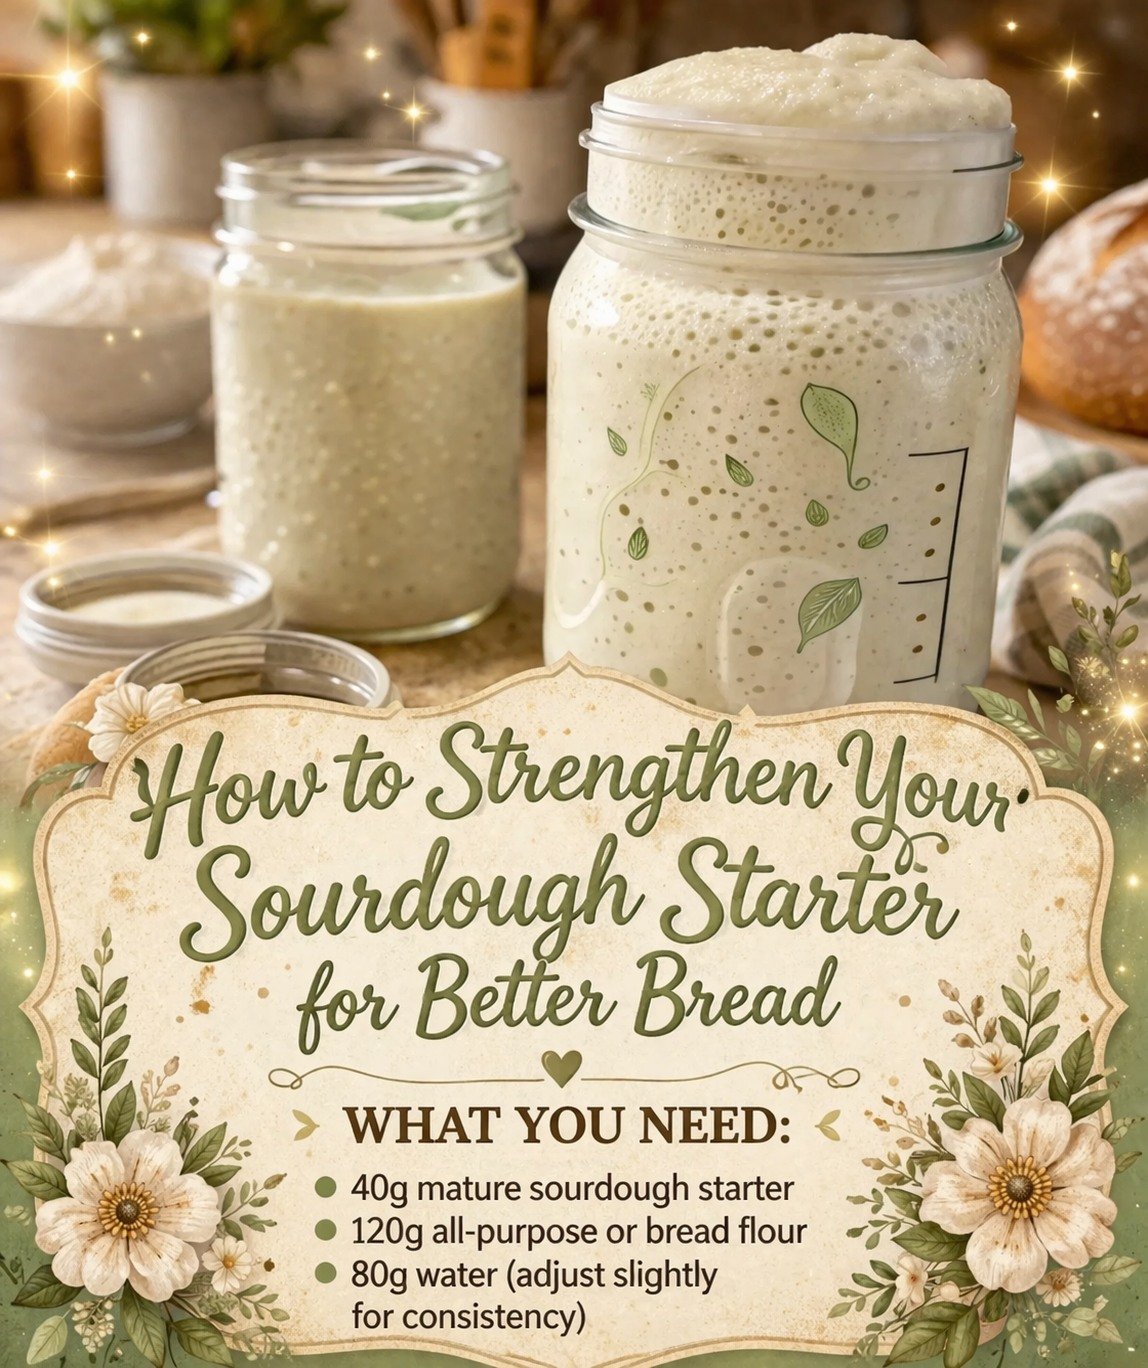
5 Simple Tips to Make Your Sourdough Starter Stronger Fast
How To Strengthen Your Sourdough Starter For Better Bread
By Jason Griffith | ChefManiac.com
If you have ever pulled a loaf of sourdough out of the oven only to find it flat, dense, or lacking those beautiful airy holes, the culprit usually isn’t your folding technique or your flour—it’s your starter. A “weak” starter simply doesn’t have the fermented horsepower to lift heavy dough.
Think of your sourdough starter as the engine of your bread. If the engine isn’t tuned, the car isn’t going anywhere. Today, I’m going to share my professional tips on how to troubleshoot a sluggish starter and transform it into a bubbly, vigorous “mother” that will give you the best rise of your life.
Why I Love This Process
I love the science of sourdough because it’s a living thing. Strengthening your starter isn’t just about better bread; it’s about understanding the microbiome in your kitchen. There is a deep satisfaction in watching a jar of flour and water double (or triple!) in size in just a few hours. When your starter is strong, baking becomes predictable and fun rather than a guessing game.
Once your starter is healthy, you can move beyond basic loaves and start making more technical treats like Sourdough Bomboloni or even savory items like a fermented crust for these Sheet Pan Quesadillas.
Signs of a Weak vs. Strong Starter
| Feature | Weak Starter | Strong Starter |
|---|---|---|
| Activity | Small bubbles, barely rises | Large bubbles, doubles/triples |
| Smell | Like vinegar, acetone, or “stinky” | Sweet, yeasty, and slightly tangy |
| Consistency | Runny and liquid | Thick, mousse-like, and elastic |
| The Float Test | Sinks immediately | Floats on top of water |
Export to Sheets
The “Strength Training” Routine (Steps for Success)
1. Increase the Feeding Frequency
If you keep your starter in the fridge, it’s in a state of “hibernation.” To strengthen it, bring it to room temperature and feed it twice a day (every 12 hours) for 2–3 days. This “wakes up” the yeast and bacteria, keeping them in a constant state of peak activity.
2. Change the Feeding Ratio
Most people feed a 1:1:1 ratio (equal parts starter, flour, and water). To make a starter stronger, try a 1:2:2 or even a 1:5:5ratio. By giving a small amount of starter a large “meal” of fresh flour, the yeast has to work harder and multiply more to consume the food, which naturally builds strength.
3. Use Whole Grains
If your starter is sluggish on all-purpose flour, give it a “superfood” boost. Swap 50% of your white flour for Rye flour or Whole Wheat flour. These grains contain more nutrients and wild minerals that act like a multivitamin for your yeast colonies.
4. Control the Water Temperature
Yeast loves warmth but hates heat. Aim for filtered water that is between 75°F and 80°F. Using ice-cold water from the tap slows down fermentation, while hot water can kill the very cultures you are trying to build.
5. Use Filtered Water
Chlorine in tap water is designed to kill bacteria—unfortunately, it doesn’t distinguish between “bad” bacteria and the “good” bacteria in your sourdough. If your starter is struggling, switch to filtered or spring water for a week to see if it recovers.
Swaps and Notes
- Flour Swaps: If you run out of Rye, even unbleached bread flour is better than bleached all-purpose. Bleaching agents can hinder the growth of wild yeast.
- Storage Notes: Never strengthen your starter while it’s in the fridge. The cold inhibits the “training” process. Only return it to the fridge once it is consistently doubling within 4–6 hours.
Serving Suggestions and Pairings
While you can’t exactly “serve” a starter, the bread you make with a strong starter is the ultimate side dish. A thick slice of sourdough is the perfect vessel for dipping into this Crockpot Nacho Dip or serving alongside a hearty bowl of Mexican Chicken and Rice Casserole.
Nutritional Information (Per 100g of Active Starter)
- Calories: 160 kcal
- Carbohydrates: 34g
- Protein: 5g
- Sugar: 0g (Note: These values change once the starter is baked into bread.)
Storage and Maintenance Tips
- For the Casual Baker: Once your starter is strong, store it in the fridge and feed it once a week.
- For the Daily Baker: Keep it on the counter and feed it every 24 hours.
- The “Hooch”: If a dark liquid forms on top, don’t panic! It’s just alcohol—a sign your starter is hungry. Pour it off, discard half the starter, and feed it immediately.
More Recipes You Will Love
A strong starter opens up a world of baking possibilities. Try these other favorites once your “mother” is ready:
- One Pan Breakfast Bake – Use your sourdough discard to make breakfast crepes or pancakes on the side!
- Totchos (Tater Tot Nachos) – The perfect salty reward after a long day of bread baking.
- Sheet Pan Quesadillas – A quick dinner for those days when you spent all your energy on your dough.
Final Thoughts
Don’t get discouraged if your starter doesn’t look like a science experiment overnight. Like any good thing, sourdough takes time. Be consistent with your feedings, keep it warm, and soon you’ll be baking loaves that are the envy of the neighborhood.
Is your starter acting up? Drop a comment below and let’s troubleshoot it together! Don’t forget to follow ChefManiac for more baking tips and trick. Happy fermenting!