Fall-Off-The-Bone Oven BBQ Ribs with a Sticky Honey Glaze
Print it, save it, or add it to your recipe binder.
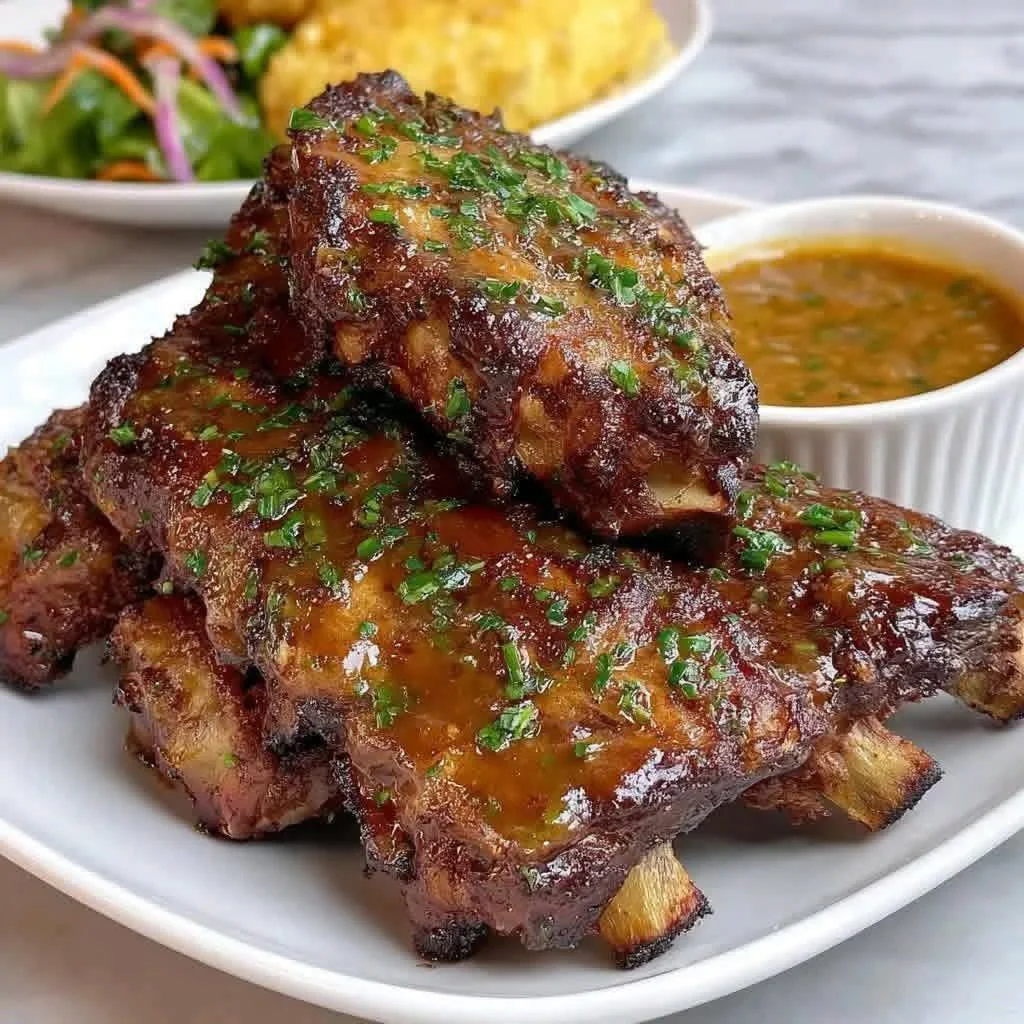
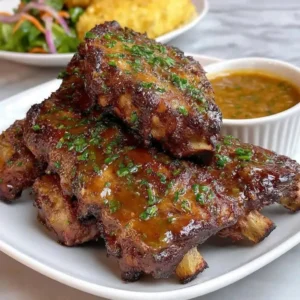
Tender Oven-Baked BBQ Ribs with a Sticky Honey Barbecue Glaze
By Jason Griffith
There is a certain “premium” status associated with a perfect rack of ribs. Usually, we think of master pitmasters standing over smokers for twelve hours, meticulously tending to hickory coals. But at chefmaniac.com, I’m a firm believer that you don’t need a backyard rig to achieve that legendary fall-off-the-bone texture. In fact, some of the best ribs I’ve ever served came straight out of a standard kitchen oven.
These Tender Oven BBQ Ribs are all about technique. By utilizing a “low and slow” baking method, we allow the connective tissue in the pork to break down naturally, resulting in meat that practically melts. To finish, we apply a high-heat Honey Barbecue Glaze that caramelizes into a glossy, sticky coating that will have everyone reaching for extra napkins. Whether it’s game day or a celebratory Sunday dinner, these ribs are the ultimate centerpiece.
Why I Love This Recipe
What makes this recipe a personal favorite is its accessibility. Ribs can be intimidating, but this method is virtually foolproof. By sealing the ribs in a foil “pouch,” you create a pressurized environment that locks in moisture, preventing the meat from drying out during the long cook time.
I also love the flavor profile. We start with a dry rub that provides a smoky, savory base, and then we layer on a sweet and tangy glaze. It hits every part of the palate. Plus, because they are baked in the oven, you can make them year-round—no need to worry about the weather or charcoal supplies. It’s the perfect main dish to anchor a spread of Game Day Totchosand other crowd-pleasing snacks.
Ingredients You’ll Need
- Pork Ribs: 1 full rack (Baby Back or Spare Ribs).
- Olive Oil: 1 tablespoon (to help the rub stick).
The Smoky Dry Rub:
- Smoked Paprika: 1 tablespoon.
- Garlic Powder: 1 teaspoon.
- Onion Powder: 1 teaspoon.
- Chili Powder: 1 teaspoon.
- Salt: 1 teaspoon.
- Black Pepper: 1/2 teaspoon.
The Honey Barbecue Glaze:
- Barbecue Sauce: 1 cup (your favorite brand).
- Honey: 2 tablespoons (or maple syrup).
- Fresh Parsley: For garnish.
Swaps and Notes
- Baby Back vs. Spare Ribs: Baby back ribs are leaner and cook slightly faster. Spare ribs have more fat and marbling, which often leads to a richer flavor. Both work beautifully with this method!
- Spice it Up: If you like a kick, add 1/4 teaspoon of cayenne pepper to your dry rub.
- The Sweetener: If you want a deeper, more “rustic” sweetness, swap the honey for dark brown sugar or real maple syrup.
- Appetizer Pairings: If you’re hosting a large party, these ribs pair perfectly with a Crockpot Nacho Dip or a Beer Cheese Dip.
Step-by-Step Instructions
1. The Critical Prep: Remove the Membrane
Flip the rack of ribs over so the bone side is up. You’ll see a thin, white, silken skin called the membrane (or silver skin). Use a butter knife to pry up a corner, grab it with a paper towel for grip, and peel it off. This is the secret to tender ribs.If you leave it on, the ribs will be tough and chewy.
2. Season the Meat
Preheat your oven to 300°F (150°C). Rub the entire rack with a little olive oil. In a small bowl, mix your paprika, garlic powder, onion powder, chili powder, salt, and pepper. Generously coat both sides of the ribs with the rub, pressing it into the meat.
3. Wrap and Bake
Place the ribs on a large sheet of heavy-duty aluminum foil. Fold the foil over and crimp the edges tightly to create a sealed pouch. Place the pouch on a baking sheet. Bake for 2 to 2 1/2 hours. You’ll know they’re ready when the meat has started to pull away from the ends of the bones.
4. Glaze the Ribs
Carefully open the foil (watch out for the steam!). In a small bowl, whisk together your BBQ sauce and honey. Use a brush to apply a thick layer of the glaze over the top of the ribs.
5. The Caramelization Finish
Turn your oven up to 400°F (or set to Broil). Place the ribs back in the oven, uncovered, for 5 to 10 minutes. Watch them closely! You want the sauce to bubble and turn dark and sticky, but you don’t want it to burn.
6. Rest and Serve
Let the ribs rest for 5–10 minutes before slicing. This allows the juices to redistribute, ensuring every bite is moist.
Tips for Success
- Don’t Rush: The “low and slow” temperature is non-negotiable. If you try to bake them at 400°F the whole time, they will be dry and tough.
- The “Bend” Test: If you pick up the rack with tongs from the center, the ribs should bend significantly and the meat should start to crack slightly. That’s when you know they are perfectly tender.
- Seal the Foil: Ensure your foil pouch is airtight. If steam escapes, the ribs will lose moisture and won’t get that “fall-off-the-bone” effect.
Serving Suggestions and Pairings
To keep the “Premium Barbecue” theme going, serve these ribs with classic sides like creamy coleslaw, buttered corn on the cob, or a Baked Kosher Salami Appetizer.
For a drink pairing, a crisp Amber Ale or a smoky Bourbon-based cocktail complements the honey-glaze perfectly. If you’re looking for something non-alcoholic, a sparkling apple cider provides a nice acidic cut to the richness of the pork.
Nutritional Information (Per Serving)
- Calories: 620 kcal
- Total Fat: 38g
- Saturated Fat: 14g
- Cholesterol: 145mg
- Carbohydrates: 24g
- Protein: 42g
Storage and Leftover Tips
- Fridge: Leftover ribs stay delicious in the fridge for up to 4 days.
- Freezer: You can freeze cooked ribs for up to 2 months.
- Reheating: To prevent drying out, wrap leftovers in foil with a tablespoon of water or extra BBQ sauce and heat at 300°F until warmed through.
More Recipes You Will Love
If you’re a fan of big, bold flavors and party-ready meals, you’ll love these:
- Beer Cheese Dip – The ultimate companion for a BBQ spread.
- Party-Style Totchos – A fun, cheesy twist on nachos.
- Baked Kosher Salami – An easy, savory appetizer.
- Crockpot Nacho Dip – Set it and forget it!
- The Ultimate Cheesy Hot Dip – A sandwich-inspired favorite.
Final Thoughts
Homemade ribs don’t have to be a daunting task. By bringing the “low and slow” method into your oven, you can achieve world-class results any day of the week. I hope these become a staple in your home like they are in mine!
Did you give these a try? Did you use a spicy sauce or stick with the honey glaze? Let me know in the comments below or tag chefmaniac.com in your photos!
— Jason Griffith
Fall-Off-The-Bone Oven BBQ Ribs with a Sticky Honey Glaze
Tender Oven-Baked BBQ Ribs with a Sticky Honey Barbecue Glaze
Prep: min | Cook: min | Total: min
Servings:
Ingredients
Instructions
Nutrition
- Calories: 620 kcal
- Fat: 38g
- Carbs: 24g
- Protein: 42g
Rate This Recipe
Average Rating: 0 (0 votes)