Homemade Chocolate Syrup Recipe: Sweet Simplicity in a Bottle
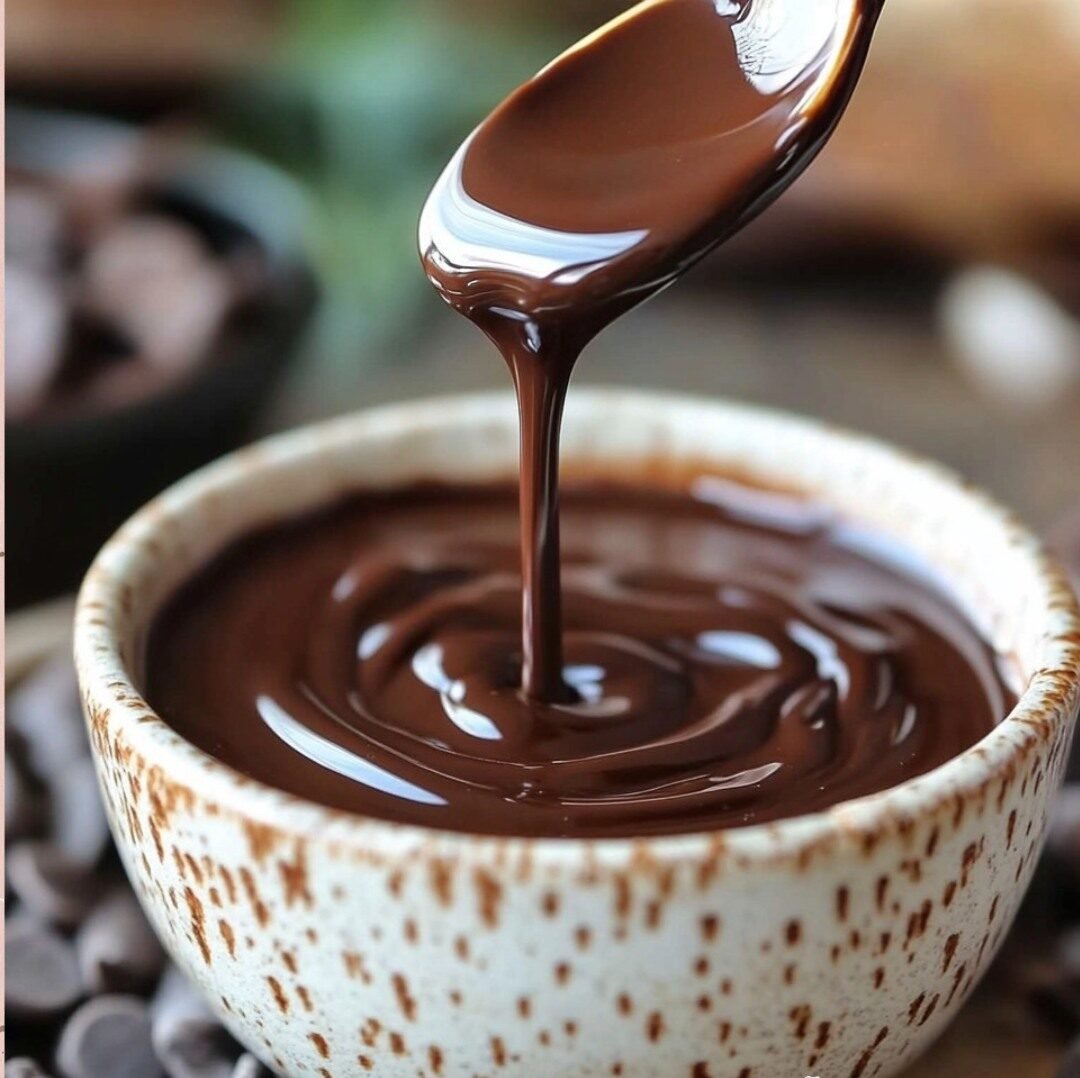
If your dessert game could use a little oomph, this homemade chocolate syrup might just become your new pantry MVP. With only four simple ingredients and zero preservatives, it’s a delicious way to add a rich cocoa punch to everything from vanilla ice cream to homemade lattes. Trust me—it’s so easy, you’ll wonder why you ever bought the store-bought stuff.
Why I Love This Chocolate Syrup Recipe
There’s something incredibly satisfying about making classic condiments at home. This syrup is not just fast and easy—it’s also deeply flavorful, velvety smooth, and customizable. Unlike store versions, this syrup contains no high-fructose corn syrup or additives, just rich cocoa flavor in every spoonful. Whether you’re drizzling it over pancakes, swirling it into milk, or using it as a base for chocolate milkshakes, this recipe delivers every time.
Ingredients
- 2 cups sugar
- 1 cup water
- 1/3 cup cacao powder or unsweetened cocoa powder
- 1 tbsp vanilla extract
Ingredient Swaps & Notes
- Cacao vs. Cocoa: Cacao powder has a more intense, slightly bitter flavor and is less processed, while cocoa powder is milder and usually what you’ll find in pantries. Both work beautifully here.
- Sugar Alternatives: You can use coconut sugar or raw cane sugar for a slightly different flavor. Keep in mind it may affect the color and thickness.
- Vanilla Boost: For a deeper flavor profile, use vanilla bean paste or add a splash of almond extract for variation.
Step-by-Step Directions
- Dissolve the Sugar: Combine sugar and water in a medium saucepan over medium heat. Stir until the sugar is completely dissolved.
- Add the Cocoa: Whisk in the cacao or cocoa powder until fully incorporated and smooth.
- Simmer: Bring the mixture to a gentle boil. Stir constantly for about 3 minutes. The syrup should thicken slightly.
- Flavor It Up: Remove from heat and stir in the vanilla extract.
- Cool and Store: Allow to cool, then pour into a clean jar or bottle. Store in the fridge for up to 3 weeks.
Tips for Success
- Don’t Overboil: A gentle simmer is all you need. Overboiling may cause the syrup to crystallize.
- Smooth Finish: For ultra-smooth syrup, consider straining it through a fine mesh sieve before bottling.
- Shake Before Use: Natural separation may occur—just give it a quick shake or stir before using.
Serving Suggestions & Pairings
This syrup is incredibly versatile! Here are just a few ideas:
- Drizzle over ice cream or brownies
- Swirl into coffee or hot milk
- Stir into oatmeal or yogurt
- Use as a dip for fruit or pretzels
- Pour over pancakes or waffles
For more dessert inspiration, try pairing this syrup with these rich, chocolatey favorites:
- Chocolate Chip Cookie Dough Brownie Bombs
- Brownie Batter Dip
- No-Bake Oreo Cream Pie
- Neiman Marcus Chocolate Chip Cookies
- Caramel Apple Nachos
Storage & Leftover Tips
Store your chocolate syrup in a glass jar or squeeze bottle in the refrigerator. It will keep well for up to three weeks. If it thickens too much when chilled, a quick 10-second zap in the microwave or a warm water bath will loosen it right up.
More Recipes You’ll Love
Continue your dessert journey with these delightful treats:
Final Thoughts
Making your own chocolate syrup is one of those kitchen wins that’s as rewarding as it is delicious. You get a rich, customizable syrup without the preservatives, and it’s ready in just minutes. Give it a try, and you’ll never go back to the bottled stuff again.
If you make this recipe, I’d love to hear how it turned out! Leave a comment or tag @chefmaniac on social media with your sweet creations.
🍫✨ Stay sweet and keep drizzling!


Leave a Reply