The Ultimate Strawberry Upside Down Cake: Moist, Fruity, and Ready in Under an Hour
(Author: Jason Griffith)
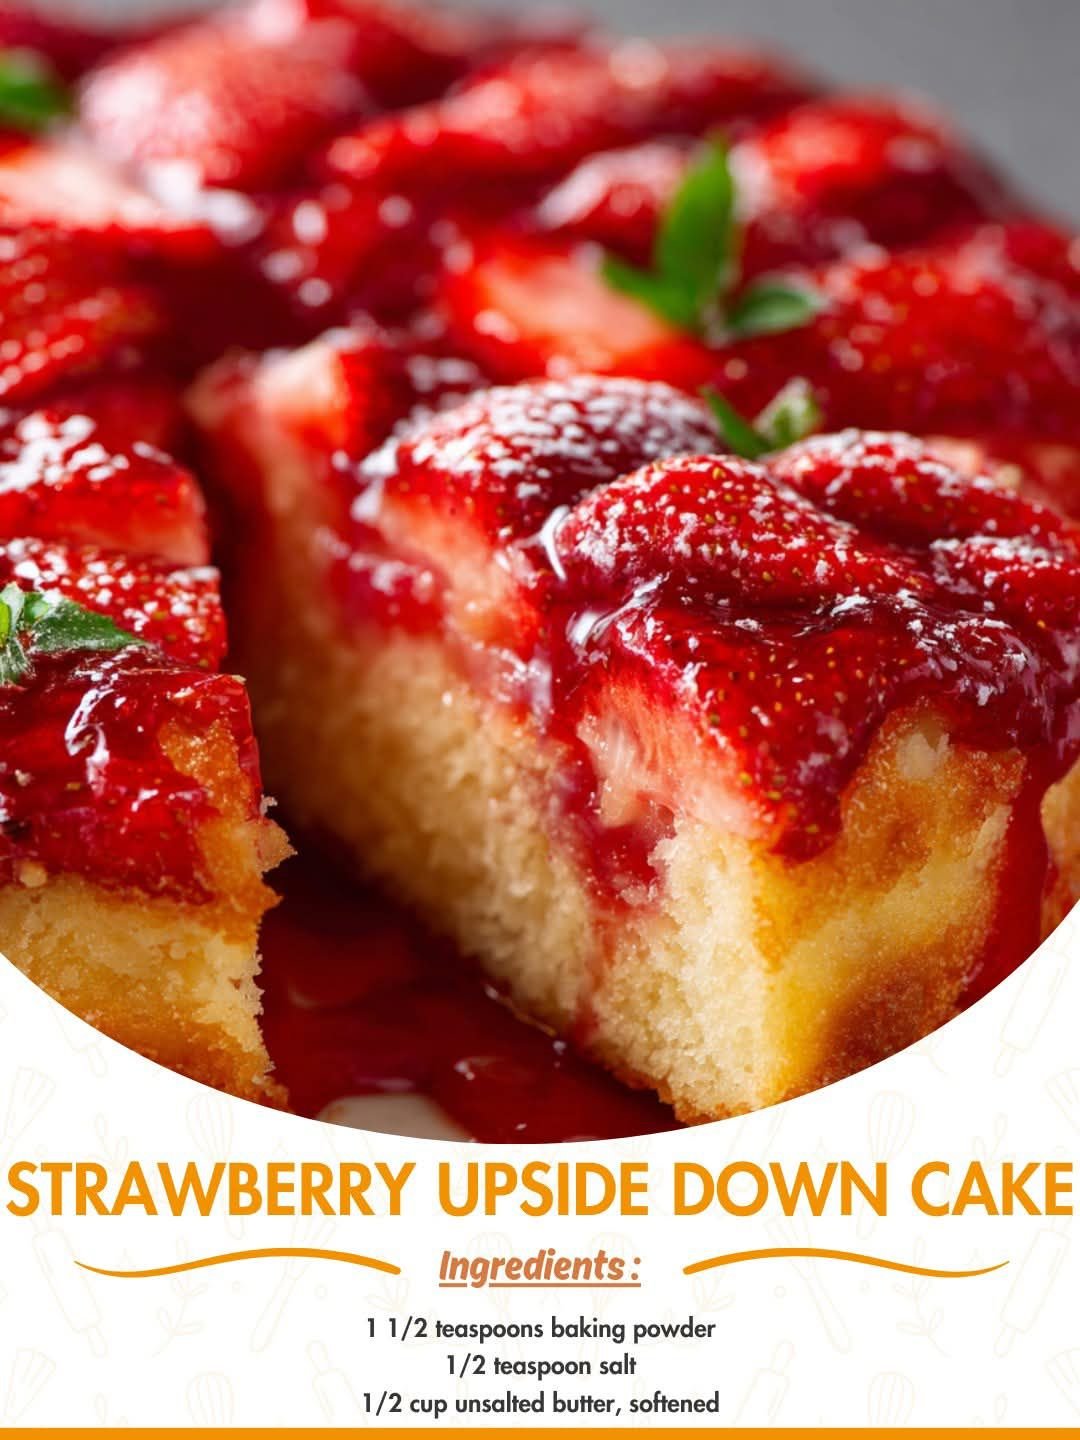
Few desserts herald the arrival of spring and summer quite like the Strawberry Upside Down Cake. It’s a dessert that’s all about presentation, a stunning centerpiece where the buttery, caramelized strawberries take center stage. This isn’t just a cake; it’s a show-stopper that’s surprisingly easy to master, requiring simple ingredients and a classic technique.
If you’ve only ever had pineapple upside-down cake, get ready for a vibrant, fresh twist. The strawberries soften beautifully as the cake bakes, releasing their sweet, tart juices into a rich brown sugar glaze that permeates the light, fluffy vanilla cake above it. The smell alone is enough to transport you to a sunny afternoon.
Why I Love This Strawberry Upside Down Cake Recipe
I’ve been a fan of upside-down cakes since I was a kid. There’s a certain magic to the reveal—flipping the hot pan and watching the glossy, perfectly arranged fruit set on the plate.
This particular strawberry version is my favorite for a few key reasons:
- It’s a Seasonal Star: When strawberries are at their peak, this cake lets their natural flavor shine without a ton of fuss. The freshness is unbeatable.
- The Caramelized Crust: The mix of melted butter and brown sugar creates a sticky, slightly chewy, caramelized layer that locks in the strawberry juices. It is pure dessert gold.
- A Perfect Texture: The cake itself is incredibly moist thanks to the whole milk and a careful balance of leavening. It’s light enough to complement the dense, sweet fruit topping.
- Effortless Elegance: It looks like you spent hours on it, but the prep is quick. It’s the perfect dessert to feed a crowd without the stress of frosting or intricate decoration.
Ingredients
For the Topping
- 2 cups fresh strawberries, hulled and sliced
- 1/2 cup brown sugar
- 3 tablespoons unsalted butter, melted
For the Cake Batter
- 1 1/2 cups all-purpose flour
- 3/4 cup granulated sugar
- 1 1/2 teaspoons baking powder
- 1/2 teaspoon salt
- 1/2 cup unsalted butter, softened (1 stick)
- 2 large eggs
- 1 teaspoon vanilla extract
- 1/2 cup whole milk
Swaps and Notes
- Strawberries: You can swap the strawberries for other fresh fruits like sliced peaches, blueberries, or even a mix! If using frozen, thaw them completely and pat them very dry before arranging, or the topping will be too watery.
- Dairy: I prefer whole milk for the richest flavor and moisture, but 2% milk will work just fine. For a richer crumb, swap the milk for buttermilk, which will also add a lovely tang.
- Butter: Always use unsalted butter for baking, as it allows you to control the salt content. Make sure the butter for the cake is truly softened—it should be able to hold a gentle indentation when pressed.
- Gluten-Free Option: A 1-to-1 gluten-free baking blend can often be substituted for the all-purpose flour in this type of recipe.
Step-by-Step Directions
1. Prepare the Oven and Pan:
- Preheat your oven to 350∘F (175∘C).
- Generously grease a 9-inch round cake pan.
2. Make the Caramel Topping:
- In a small bowl, combine the melted butter (3 tablespoons) and the brown sugar.
- Pour this mixture into the bottom of the prepared pan and spread it evenly with a spatula.
3. Arrange the Fruit:
- Arrange the sliced strawberries evenly over the brown sugar mixture. Get creative with the pattern! A nice spiral around the edge and middle looks beautiful when inverted.
4. Combine Dry Ingredients:
- In a medium bowl, whisk together the flour, baking powder, and salt. Set this aside.
5. Cream Butter and Sugar:
- In a large bowl (or the bowl of a stand mixer), beat the softened butter (1/2 cup) and the granulated sugar until the mixture is light and fluffy—about 3-5 minutes. This step is crucial for incorporating air and achieving a tender crumb.
6. Add Eggs and Vanilla:
- Add the eggs one at a time, beating well after each addition to ensure they are fully incorporated.
- Stir in the vanilla extract.
7. Add Dry and Wet Ingredients:
- Add the dry ingredients to the butter mixture in three batches, alternating with the milk in two batches.
- Begin and end with the dry ingredients. Mix on low speed until the batter is just combined. Do not overmix!
8. Bake the Cake:
- Gently spread the batter over the strawberries in the pan. The batter will be thick, so take your time to cover the fruit evenly without disturbing the arrangement too much.
- Bake for 35-40 minutes, or until a toothpick inserted into the center of the cake part comes out clean.
9. The Flip!
- Let the cake cool in the pan for exactly 10 minutes. This allows the caramel to set slightly without sticking to the pan.
- Carefully run a thin knife around the edge of the cake.
- Place your serving plate upside down over the cake pan, and using oven mitts, firmly flip the whole assembly over.
- Lift the pan slowly. If any fruit sticks, gently place it back onto the cake.
- Allow the cake to cool completely before slicing and serving.
Tips for Success
- Prep the Pan: Seriously, grease the pan well before adding the caramel mixture. This prevents the cake from sticking during the crucial flip.
- Don’t Rush the Flip: The 10-minute cooling time is key. Too soon, and the hot caramel will run everywhere and the cake might tear. Too long, and the caramel may stick to the bottom of the pan and the fruit won’t release cleanly.
- Pat Your Strawberries Dry: After washing and slicing, gently pat the strawberries with a paper towel. Excess moisture can dilute the caramel topping and make it too thin and runny.
- Check Doneness: Always test the cake with a toothpick in the very center. If it comes out clean or with a few moist crumbs, it’s done. If there is wet batter, keep baking for a few more minutes.
Serving Suggestions and Pairings
This cake is delicious on its own, but a simple accompaniment takes it over the top.
- A dollop of freshly whipped sweetened cream or a scoop of premium vanilla bean ice cream is a must. The cool cream balances the warm, moist cake perfectly.
- Pair it with a refreshing beverage like a tart glass of homemade lemonade or a sparkling Rosé wine.
- For a fun weekend brunch, serve a slice with a piping hot cup of coffee or a classic iced latte.
Nutritional Information (Per serving, based on 8 servings)
- Calories: Approximately 305-320 kcal
- Total Fat: 13g
- Saturated Fat: 8g
- Cholesterol: 65mg
- Sodium: 190mg
- Total Carbohydrates: 45g
- Dietary Fiber: 2g
- Sugars: 30g
- Protein: 4g
Note: This is an estimated nutritional breakdown and can vary based on specific ingredient brands and portion sizes.
Storage and Leftover Tips
This cake is best enjoyed the day it’s made, but leftovers are fantastic.
- Countertop: Store the cake, loosely covered, at room temperature for up to 2 days. The sugar topping helps keep it moist.
- Refrigeration: If you live in a warm or humid climate, cover the cake tightly and refrigerate for up to 4 days. Let it come to room temperature or warm a slice slightly in the microwave before serving to re-soften the caramel.
- Freezing: Slice the cooled cake and wrap individual portions tightly in plastic wrap, then place them in a freezer-safe bag. Freeze for up to 3 months. Thaw overnight in the refrigerator.
More Recipes You Will Love
If you have a sweet tooth like me, you are going to want to check out some of my other favorite dessert recipes. These are all guaranteed crowd-pleasers:
- For an equally stunning dessert that doesn’t require an oven, try this This Easy Ice Cream Sandwich Cake Is My Favorite No-Bake Summer Dessert.
- Looking for more layered cake fun? The bright colors of my How This Unicorn Poke Cake Became My Favorite Party Trick will instantly make you smile.
- If you’re craving a cold, creamy classic, you can’t beat this This Big Family Banana Pudding Is My Favorite Classic Dessert to Feed a Crowd.
- For a decadent chocolate fix, try these These Chocolate Chip Cookie Dough Brownie Bombs Are My Favorite Sweet Obsession.
- And for a truly simple and satisfying treat, check out this This No-Bake Oreo Cream Pie Is My Favorite Quick Dessert Hack.
Final Thoughts
The Strawberry Upside Down Cake is the perfect blend of simple ingredients and spectacular results. It’s a taste of summer on a plate, and once you master the “flip,” you’ll be making this dessert for every party and potluck.
Give it a try this week and let me know how it turns out! What’s your favorite way to arrange the strawberries? Drop a comment below, and don’t forget to follow @ChefManiac on social media for more easy, impressive recipes!


Leave a Reply