How I Make Perfect Sugar Cookie Icing That Dries Smooth and Shiny Every Time
Decorating sugar cookies used to intimidate me — until I found this no-fuss icing recipe that makes the whole process fun, easy, and totally stress-free. This sugar cookie icing is smooth, shiny when it dries, and perfect for piping, flooding, or even dipping cookies. It doesn’t require meringue powder or fancy tools, which makes it ideal whether I’m baking with kids or preparing a batch for a party.
The first time I used this icing, I was amazed at how professional my cookies looked without spending hours on them. It sets up beautifully, hardening just enough so you can stack or package the cookies, but still stays soft when you bite into them. It’s now my go-to for holiday cookie decorating marathons, bake sales, and any time I want my sugar cookies to really shine.
Why I Love This Sugar Cookie Icing Recipe
- Super easy — just mix and go.
- No meringue powder or piping bags required.
- Dries glossy and smooth, perfect for decorating.
- Customizable with any food coloring for themed cookies.
- Sets firm enough to stack or gift, but not rock-hard like royal icing.
Ingredients You’ll Need
(Makes enough for about 24 cookies | Prep Time: 5 minutes)
- 2 cups powdered sugar
- 2–3 tablespoons milk
- 1 tablespoon light corn syrup
- 1/2 teaspoon vanilla extract
- Gel food coloring (optional, for color)
How I Make Sugar Cookie Icing (Step-by-Step)
- Mix the Base
In a medium bowl, I whisk together the powdered sugar, 2 tablespoons of milk, corn syrup, and vanilla extract. I stir until the icing is smooth and glossy. If it’s too thick, I add a bit more milk, 1 teaspoon at a time, until I reach the right consistency. - Adjust for Decorating
- For outlining or piping: I keep it on the thicker side.
- For flooding: I thin it out slightly with a bit more milk so it spreads smoothly.
- Add Color
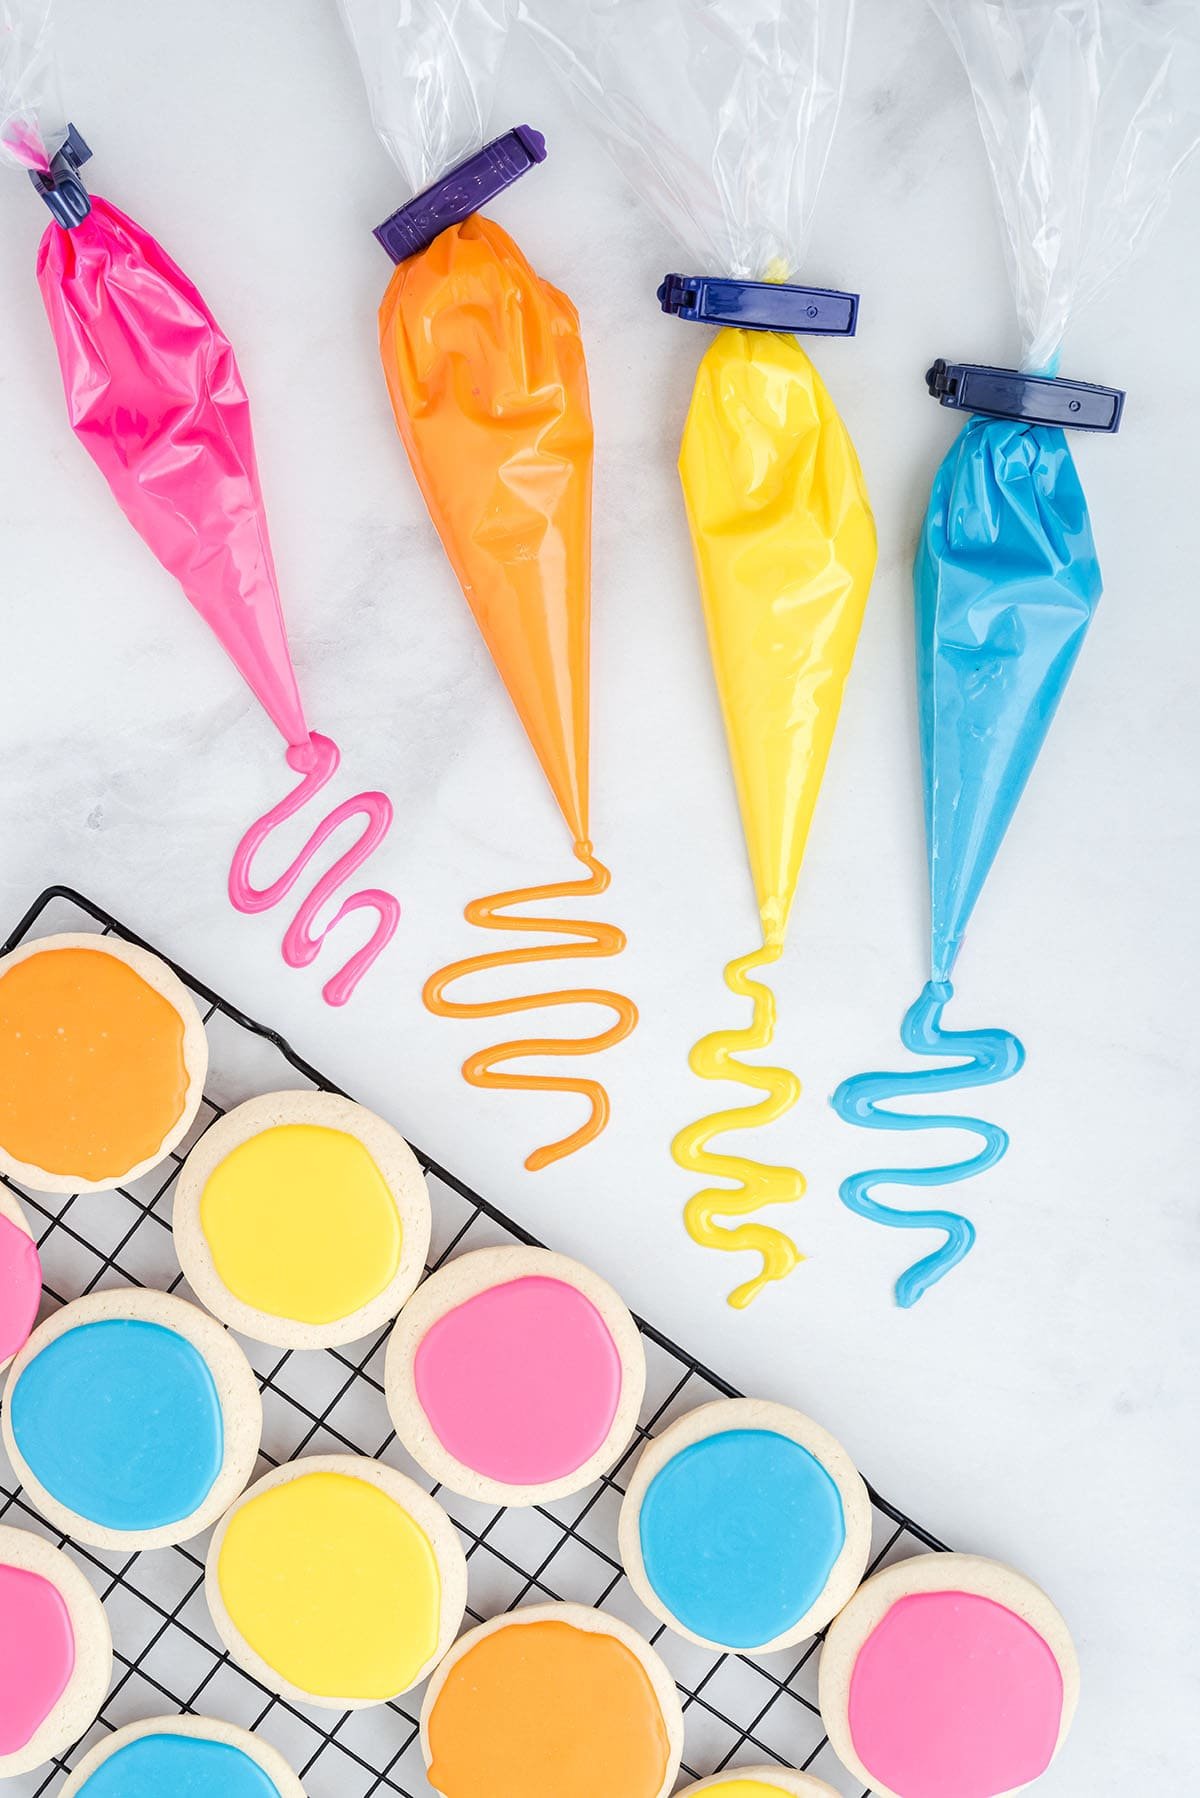
If I’m coloring the icing, I divide it into small bowls and stir in a few drops of gel food coloring. Gel colors work best because they don’t water down the icing. - Decorate
I use piping bags, zip-top bags with the corner snipped, or even small spoons and toothpicks to decorate my cookies. It’s super forgiving and fun to work with. - Let It Set
I let the decorated cookies dry at room temperature for 6–8 hours (or overnight) before stacking or packaging. The icing sets beautifully, holding its shape and color without cracking.
My Tips for the Best Sugar Cookie Icing
- Always sift the powdered sugar if it’s lumpy — it makes for a smoother icing.
- Use gel food coloring for vibrant color without thinning the icing.
- Let cookies dry completely before stacking to avoid smudges.
- Store extra icing in an airtight container in the fridge for up to a week — just stir before reusing.
Fun Variations I’ve Tried
- Adding a tiny drop of almond or lemon extract for a flavor twist.
- Using white icing as a base, then dusting with edible glitter or colored sugar.
- Marbling colors by swirling two icing shades together with a toothpick.
- Making themed sets (like pastels for Easter or red and green for Christmas).
What I Use This Icing For
- Classic cut-out sugar cookies
- Shortbread cookies for a decorative touch
- Cookie decorating parties or kits for kids
- Edible gift bags and holiday cookie boxes
- Dipping plain store-bought cookies to dress them up quickly
Frequently Asked Questions
Q: Does this icing harden?
A: Yes — it sets firm enough to stack and package but stays soft to bite.
Q: Can I freeze iced cookies?
A: You can! Just let them dry completely first, then layer with parchment paper in an airtight container.
Q: Is this the same as royal icing?
A: No, this version doesn’t use meringue powder or egg whites — it’s easier and faster, with a slightly softer finish.
Q: How long does it take to dry?
A: Usually 6–8 hours at room temperature, or overnight for best results.
Why This Sugar Cookie Icing Is a Must for Your Baking Toolbox
This icing is everything I want in a cookie decorating glaze — simple, foolproof, and beautiful once set. It’s perfect for beginners, great for kids, and still gives cookies that polished, bakery-style finish. Whether you’re decorating for a holiday, birthday, or just for fun, this icing makes it easy to turn plain cookies into sweet little works of art.
I hope you give it a try and get creative with your cookie designs! And if you have fun variations or tips of your own, I’d love to hear how you make this icing your own.

Easy Sugar Cookie Icing That’s Glossy, Sweet, and So Simple to Work With
Ingredients
- 1 tablespoon light corn syrup
- 2 teaspoons vanilla extract
- 1 cup powdered sugar
- 2-4 tablespoons milk or water (adjust for desired consistency)
- Food coloring (optional)
Instructions
- In a mixing bowl, combine the powdered sugar and corn syrup.
- Add vanilla extract and 2 tablespoons of milk or water.
- Stir until the mixture is smooth and glossy. If too thick, add more milk or water, one tablespoon at a time, until the desired consistency is reached.
- If using, divide the icing into separate bowls and add food coloring to each bowl to achieve your desired colors.
- Use the icing immediately for piping or flooding cookies. Let the decorated cookies dry completely before storing.


Leave a Reply