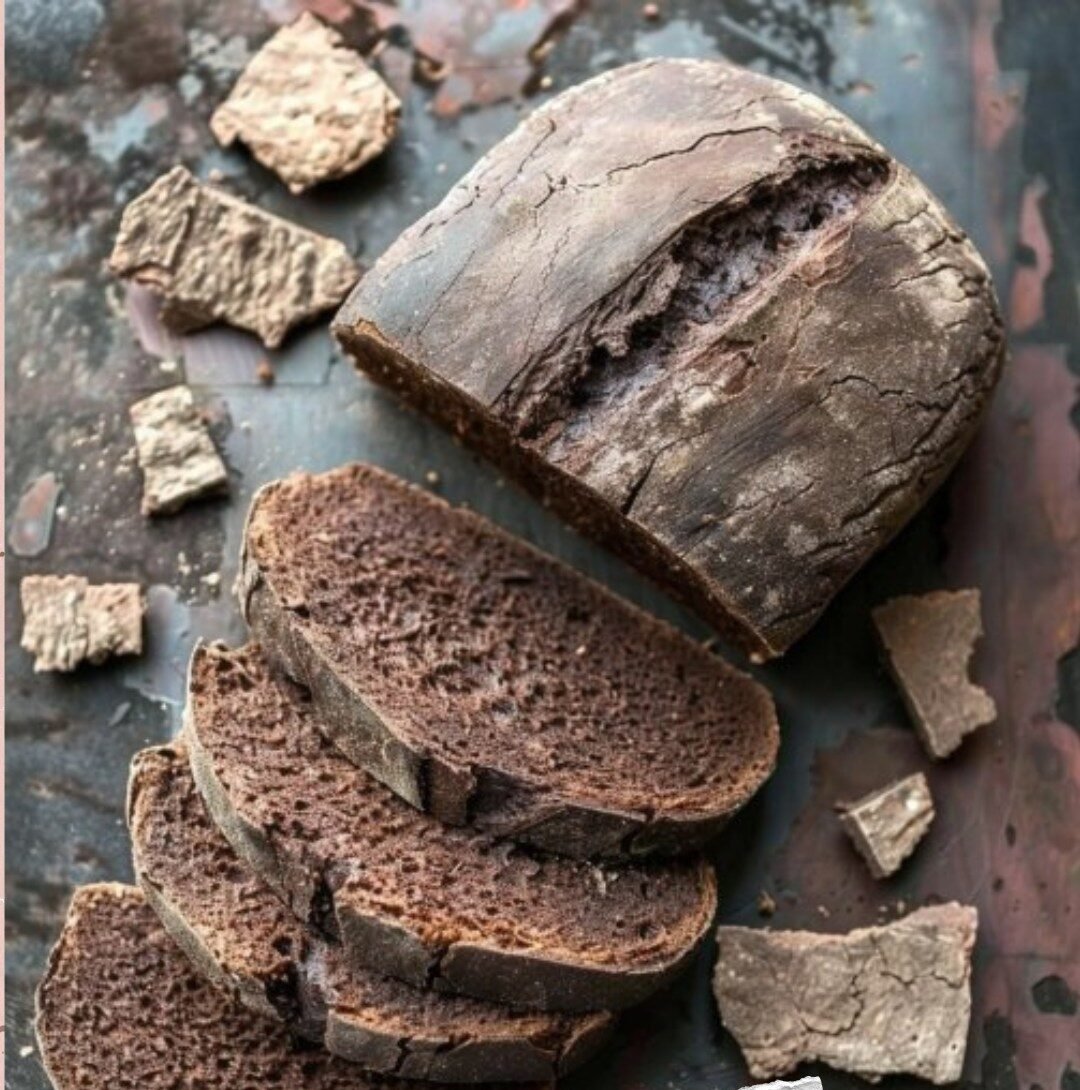
Pine Bark Bread: A Rustic Twist on Homemade Baking!
Hey there, Jason Griffith here! If you’re looking to explore unique, ancient flavors and a truly rustic baking experience, then you’re in for a treat with Pine Bark Bread. This isn’t your everyday loaf; it’s a fascinating blend of traditional ingenuity and wholesome ingredients. Combining pine bark flour with whole wheat creates a bread with a delightful twist, offering a distinctive, earthy flavor that’s perfect for snacking or as an intriguing side dish.
Why I Love This Recipe
I’m always captivated by historical and regional food traditions, and the concept of using pine bark in bread is a testament to resourceful and sustainable eating from cultures like those in Nordic regions during leaner times. What I particularly love about this Pine Bark Bread recipe is its simplicity and the truly unique flavor it offers. It’s a departure from conventional baking, inviting you to connect with nature’s pantry. The high heat baking creates a wonderfully crisp exterior, while the internal texture offers a satisfying chew. It’s a conversation starter, a nod to history, and genuinely delicious in its own right.
Ingredients
Here’s what you’ll need to create this uniquely rustic bread:
- 7/8 cup Pine Bark Flour (200ml)
- 3 3/4 cup Whole Wheat Flour (900ml)
- 1 tsp Salt (5ml)
- 1 3/4 cup Cold Water (400ml)
Swaps and Notes
- Pine Bark Flour: This is a specialized ingredient, traditionally made from the inner bark (phloem) of certain pine trees, dried and ground into flour. It provides the unique flavor and fiber. It might be found in specialty stores or online. Do not try to make this yourself from random tree bark unless you are absolutely certain of the tree species and preparation method, as some barks are toxic.
- Whole Wheat Flour: Essential for the structure and wholesome flavor. You could try substituting a small portion (e.g., 1/4 cup) with rye flour for an even more rustic, Nordic flavor.
- Salt: Crucial for enhancing the flavors in the bread.
- Cold Water: Helps control the dough’s temperature during mixing.
- Adjusting Consistency: The exact amount of water or flour might need slight adjustment based on the humidity, the specific type of flours used, and how dry your pine bark flour is. The goal is a pliable but not overly sticky dough.
Directions
Making Pine Bark Bread is a straightforward process, focusing on simple mixing and high-heat baking.
- Preheat Oven: Preheat your oven to its highest setting—around 500°F (260°C) is perfect for my oven! This high heat is key to achieving that crisp exterior quickly.
- Combine Ingredients & Form Dough: In a large mixing bowl, combine all the ingredients: Pine Bark Flour, Whole Wheat Flour, Salt, and Cold Water. Mix thoroughly (you can use your hands or a sturdy spoon) until a cohesive dough forms. Feel free to adjust the texture by adding more water, one tablespoon at a time, if it’s too dry and crumbly, or a little more flour if it’s too sticky to handle. The dough should come together well but remain somewhat firm.
- Roll, Prick & Cut: Transfer the dough to a lightly floured surface. Roll the dough into thin sheets, about 1/8 to 1/4 inch thick. Use a fork to prick the dough every inch or so across the entire surface. This prevents excessive puffing during baking. Cut these sheets into bite-sized pieces (squares, rectangles, or rustic freeform shapes work fine) and place them on a lightly greased baking sheet. Ensure they are in a single layer without overcrowding.
- Bake: Pop the baking sheet into the preheated oven. Bake them for about 3 minutes, then turn the sheets halfway through (rotate the pan 180 degrees) for even cooking. They will be soft coming out of the oven, but don’t worry—they’ll crisp up beautifully as they cool! Remove from the oven once golden and slightly firm to the touch.
Enjoy your homemade Pine Bark Bread, perfect for snacking or as a side dish!
Tips for Success
- High Heat is Key: The high oven temperature is crucial for a quick bake and a crispy texture, reminiscent of crispbreads.
- Don’t Overmix: Mix the dough only until combined. Overmixing can develop too much gluten, leading to a tougher bread.
- Adjust Dough Consistency: The exact amount of water needed can vary, so add it gradually until you reach a workable dough that’s not too wet or too dry.
- Prick the Dough: Pricking with a fork helps prevent large air pockets from forming, ensuring a flatter, crispier bread.
- Thin Sheets: Rolling the dough thinly is important for that crispbread-like texture.
- Cool Completely: Patience! The bread needs to cool fully to achieve its crispiness.
Serving Suggestions and Pairings
This Pine Bark Bread is a versatile and unique addition to your table. It’s perfect for:
- Snacking: Enjoy it plain, appreciating its earthy flavor.
- As a Side Dish: Serve alongside hearty stews, rich soups (like a lentil or mushroom soup), or game meats.
- Cheese Board: Its rustic flavor makes it a great accompaniment to strong cheeses, pates, or even a simple olive tapenade.
- Dipping: Fantastic with olive oil and a sprinkle of herbs, or a savory dip.
Given its unique profile, you might want to serve it with something simple to let its flavor shine.
Storage and Leftover Tips
Store leftover Pine Bark Bread in an airtight container at room temperature for up to 3-5 days. To re-crisp, place it on a baking sheet in a 300°F (150°C) oven for a few minutes until it regains its crispness. It can also be frozen for longer storage, wrapped tightly, for up to 1 month. Thaw at room temperature and re-crisp before serving.
More Recipes You Will Love
While I don’t have other recipes specifically using pine bark flour (it’s quite unique!), if you enjoy rustic, wholesome baked goods or unique savory treats, here are some other recipes you might explore:
- For a different kind of wholesome, quick bread, try my This Chocolate Chip Banana Bread Is My Favorite Way to Use Up Overripe Bananas.
- If you’re into savory baked goods for a crowd, my Easy Cheesy Chicken Sliders with Marinara Garlic Butter offers a different kind of comforting bread experience.
Final Thoughts
Pine Bark Bread is a truly fascinating and unique baking adventure. It’s a rustic, flavorful bread that offers a delightful crispness and an intriguing taste of history. Embrace the journey and enjoy this special homemade creation!
What’s the most unusual ingredient you’ve ever baked with? Share your experiences in the comments below, and don’t forget to follow Chef Maniac for more delightful and inspiring recipes!


Leave a Reply