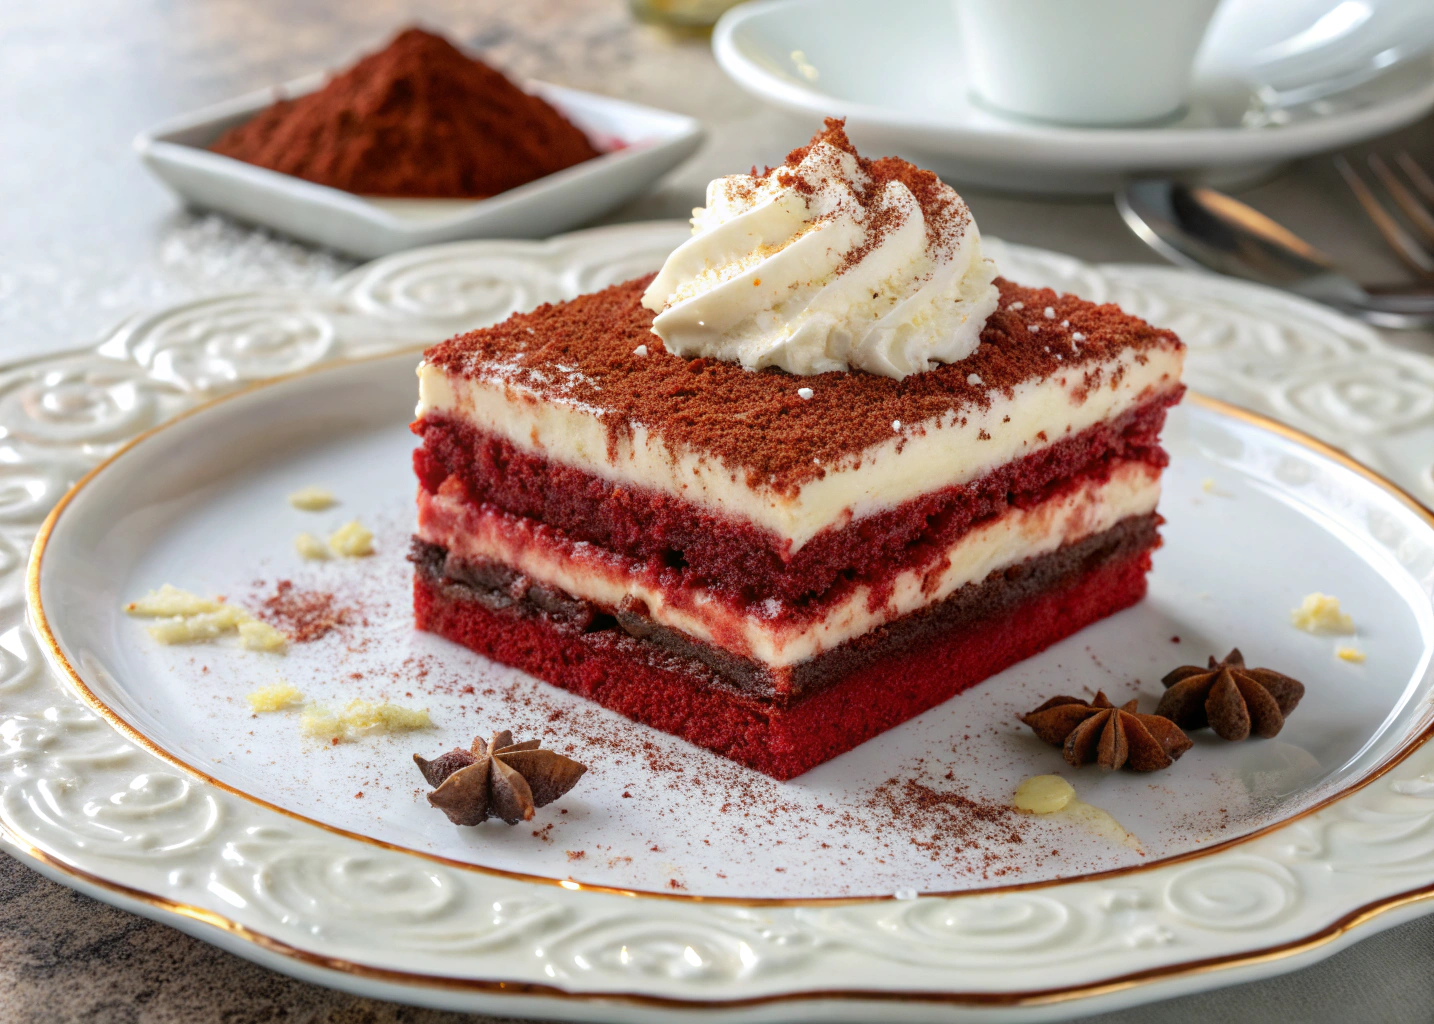
When I think of gatherings with family and friends, my mind often drifts to the sweet aroma of desserts wafting through the air. One dessert that has become a staple at our celebrations is the Red Velvet Tiramisu. This delightful fusion of two beloved desserts not only brings a pop of color to the table but also a wave of nostalgia. I remember the first time I made it for a holiday party; the joy on my loved ones’ faces as they took their first bites was priceless. It’s a dessert that not only tastes divine but also creates lasting memories.
What Makes This Dessert Special
This Red Velvet Tiramisu stands out for several reasons:
- Unique Flavor Combination: The rich cocoa flavor of red velvet pairs beautifully with the creamy mascarpone, creating a taste sensation that’s both familiar and exciting.
- Make-Ahead Convenience: This dessert can be prepared a day in advance, allowing the flavors to meld together perfectly, making it ideal for busy hosts.
- Visual Appeal: The striking red layers against the creamy white filling make for a stunning presentation that will impress your guests.
Gather Your Ingredients
Prep Time: 30 minutes | Cook Time: 0 minutes | Servings: 8
- 1 package of red velvet cake mix
- 2 cups of brewed espresso, cooled
- 1 cup of mascarpone cheese
- 1 cup of heavy cream
- ½ cup of sugar
- 1 teaspoon of vanilla extract
- Cocoa powder for dusting
Let’s Get Cooking
- Prepare the red velvet cake according to package instructions and let it cool completely.
- In a mixing bowl, combine the mascarpone cheese, heavy cream, sugar, and vanilla extract. Whip until soft peaks form.
- Cut the cooled red velvet cake into small squares.
- Dip each square into the cooled espresso, ensuring they are soaked but not falling apart.
- In a serving dish, layer the soaked cake squares and mascarpone mixture, repeating until all ingredients are used, finishing with the mascarpone layer on top.
- Cover and refrigerate for at least 4 hours, preferably overnight.
- Before serving, dust the top with cocoa powder for a beautiful finish.
Helpful Hints & Variations
For a twist on this classic, consider adding a splash of coffee liqueur to the espresso for an adult version. You can also experiment with different flavored extracts, like almond or hazelnut, to give it a unique flair.
Perfect Pairings
This Red Velvet Tiramisu pairs wonderfully with:
- A rich cup of coffee or espresso
- A glass of dessert wine, such as Port
- Chocolate-covered strawberries for an extra touch of indulgence
Kitchen Q&A
Q: Can I use homemade red velvet cake instead of a mix?
A: Absolutely! Homemade cake will add a personal touch and can enhance the flavor.
Why I Love This Recipe
This Red Velvet Tiramisu is more than just a dessert; it’s a celebration of flavors and memories. Each bite takes me back to those joyful gatherings, reminding me of the love and laughter shared around the table. It’s a dish that brings people together, and I can’t wait for you to experience it too.
Your Turn
I invite you to try this recipe for your next gathering. Feel free to tweak it to your liking and share your experiences with me. Let’s create more delicious memories together!

This Red Velvet Tiramisu Is the Ultimate Make-Ahead Party Dessert
Ingredients
- 1 box red velvet cake mix
- 3 large eggs
- 1 cup vegetable oil
- 1 cup water
- 1 cup mascarpone cheese
- 1 cup heavy cream
- 1/2 cup sugar
- 1 teaspoon vanilla extract
- 1 cup cooled espresso
- Cocoa powder for dusting
Instructions
- Prepare the red velvet cake according to package instructions and let it cool completely.
- In a mixing bowl, combine the mascarpone cheese, heavy cream, sugar, and vanilla extract. Whip until soft peaks form.
- Cut the cooled red velvet cake into small squares.
- Dip each square into the cooled espresso, ensuring they are soaked but not falling apart.
- In a serving dish, layer the soaked cake squares and mascarpone mixture, repeating until all ingredients are used, finishing with the mascarpone layer on top.
- Cover and refrigerate for at least 4 hours, preferably overnight.
- Before serving, dust the top with cocoa powder for a beautiful finish.


Leave a Reply