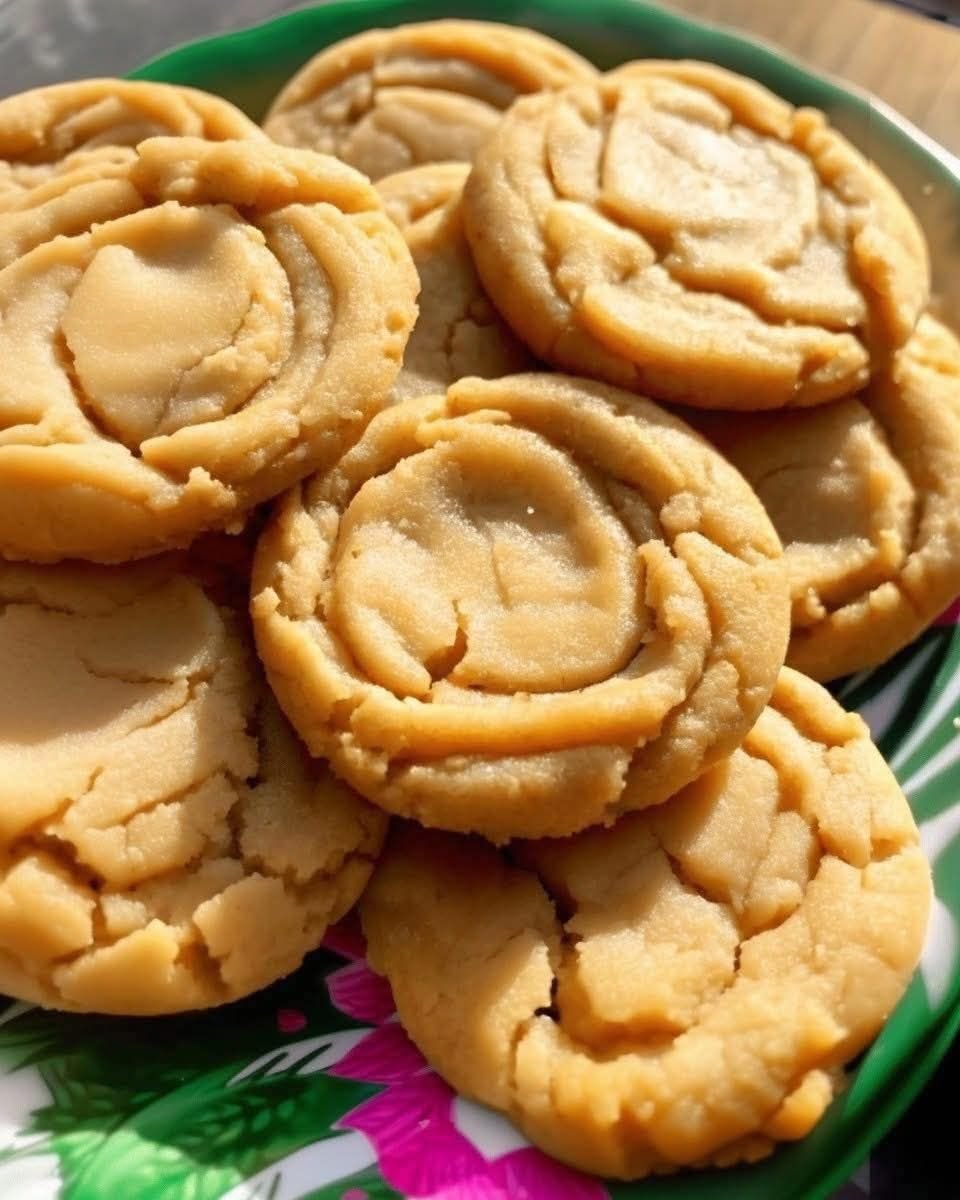
The Only Classic Peanut Butter Cookie Recipe You’ll Ever Need: Soft, Chewy, and Perfect
By Jason Griffith Published on chefmaniac.com
Few smells take you back to childhood quite like the aroma of freshly baked Peanut Butter Cookies. This recipe isn’t new or complicated—it’s the classic, fail-safe, perfect version that produces cookies with chewy edges, soft centers, and that iconic, beautiful crisscross pattern pressed into the top. It’s a simple symphony of sweet and salty that never, ever disappoints.
We’re keeping things old-school here: no fancy ingredients, just pantry staples and a little bit of mixing magic. If you’re looking for a quick, comforting treat that’s ready in under 30 minutes, this is your new go-to.
Why I Love This Recipe
I’ve baked a lot of cookies in my day, but these Peanut Butter Cookies hold a special place. They are truly the definition of comfort food.
- Pure Nostalgia: Every bite tastes exactly like the cookies I grew up eating. That rich, nutty flavor mixed with the perfect sweetness is unbeatable.
- The Perfect Texture: The mix of both white and brown sugar is key here. The brown sugar keeps them perfectly moist and chewy, while the granulated sugar ensures those lovely crisp edges.
- Foolproof: This is one of the first cookies I taught my kids to bake because the process is so simple. Cream the butter and sugars, add the wet ingredients, then the dry. You simply cannot mess it up.
- Peanut Butter Power: For the ultimate peanut butter experience, you might also want to check out my recipe for The Best Peanut Butter Brownies I’ve Ever Made (And I’ve Made A Lot)!
Classic Peanut Butter Cookie Ingredients
This simple ingredient list proves that great things come from humble beginnings.
| Ingredient | Quantity | Notes |
| Butter (softened) | 1/2 cup (1 stick) | Use unsalted for best control over the saltiness. |
| Peanut Butter | 1/2 cup | Creamy is traditional. Use a standard brand (like Jif or Skippy), not a natural-style or oil-separated one, for the best texture. |
| Granulated Sugar | 1/2 cup | For structure and crispness. |
| Brown Sugar(packed) | 1/2 cup | For moisture and chewiness. |
| Egg | 1 large | Essential binder. |
| Vanilla Extract | 1/2teaspoon | Boosts all the sweet flavors. |
| Sifted All-Purpose Flour | 1 1/4 cups | Sifting is crucial for a lighter, tender cookie. |
| Baking Soda | 3/4teaspoon | The primary leavening agent. |
| Salt | 1/4teaspoon | Balances the sweetness and enhances the peanut flavor. |
Export to Sheets
Swaps and Notes
- Peanut Butter Type: Stick to the creamy, shelf-stable kind (like Jif or Skippy) for consistent results. Natural peanut butter (the kind that separates) has too much oil and will make the cookies spread too thin.
- Butter Temperature: Ensure your butter is truly softened (not melted!) so it creams properly with the sugars. It should give slightly when pressed.
- Adding Crunch: Love a bit of texture? Add 1/4 cup of chopped peanuts to the dough along with the dry ingredients.
- Gluten-Free Swap: You can successfully swap the all-purpose flour for a 1:1 gluten-free baking blend that contains xanthan gum.
How to Make the Perfect Peanut Butter Cookies
Follow these steps for classic, craveable cookies every time.
Step 1: Prep and Cream
- Preheat & Prep: Preheat your oven to 375∘F (190∘C). Line two large baking sheets with parchment paper or silicone mats.
- Wet Ingredients: In a large bowl or the bowl of a stand mixer, cream together the softened butter, peanut butter, granulated sugar, and packed brown sugar until the mixture is light and fluffy (about 2–3 minutes). This is called “creaming” and incorporates air, which helps the cookies rise.
- Binders & Flavor: Beat in the egg and the vanilla extract until fully combined. Scrape down the sides of the bowl.
Step 2: Combine and Mix
- Dry Ingredients: In a separate medium bowl, whisk together the sifted flour, baking soda, and salt.
- Combine: Gradually add the dry ingredients to the wet ingredients. Mix just until combined—a few streaks of flour are okay. Do not overmix, or your cookies will be tough.
Step 3: Roll, Press, and Bake
- Roll the Dough: Scoop the dough using a small cookie scoop or roll it into 1-inch balls. Place them about 2 inches apart on the prepared baking sheets.
- The Crisscross: For the signature look, dip the tines of a fork in a small bowl of granulated sugar or flour. Gently press the fork onto the top of each cookie ball, then press again in a perpendicular direction to create the classic crisscross pattern.
- Bake: Bake for 12 to 15 minutes in the preheated oven. The cookies are done when the edges are set and lightly browned, and the centers still look slightly soft.
- Cool: Allow the cookies to cool on the baking sheet for 5 minutes before transferring them to a wire rack to cool completely. This is a critical step that prevents them from breaking!
Tips for Success
- Don’t Skip the Sifting: Sifting the flour makes a huge difference in the final texture, giving you a tender, melt-in-your-mouth cookie rather than a dense one.
- The Sugar Dip: Dipping the fork in sugar or flour before creating the crisscross prevents the dough from sticking to the fork and ensures a clean, defined pattern.
- Check Your Oven Temp: Ovens can be tricky! Use an oven thermometer to ensure your oven is actually at 375∘F. Too hot, and they’ll burn; too cool, and they’ll spread too much.
- For the Peanut Butter Lover: Pair these cookies with a scoop of homemade vanilla ice cream or a side of my addictive No-Bake Peanut Butter Oatmeal Bars for a true peanut butter feast.
Serving Suggestions and Pairings
These cookies are perfect on their own, but here are a few ways to elevate the experience:
- Dipping Sauce: A small dish of melted dark chocolate or a simple powdered sugar glaze.
- Ice Cream Sandwich: Cool the cookies completely, then sandwich them around a scoop of vanilla or chocolate ice cream.
- Drinks: A tall glass of cold milk, or for a refreshing grown-up treat on a sunny day, try this Blueberry Lemonade.
- Dessert Bar: Serve them alongside other decadent treats like my Chocolate Chip Cookie Dough Brownie Bombsand some Edible Cookie Dough.
Nutritional Information Per Serving (Estimate)
Based on 3 dozen cookies at approximately 1 cookie per serving.
| Nutrient | Amount |
| Calories | 110 kcal |
| Total Fat | 6g |
| Saturated Fat | 2g |
| Cholesterol | 10mg |
| Sodium | 70mg |
| Total Carbohydrates | 12g |
| Dietary Fiber | 0g |
| Total Sugars | 8g |
| Protein | 2g |
Export to Sheets
Note: This is an estimated nutritional breakdown and will vary based on specific ingredients and serving size.
Storage and Leftover Tips
- Room Temperature: Store cooled cookies in an airtight container at room temperature for up to 5 days. Placing a piece of white bread in the container helps keep them soft!
- Freezing Baked Cookies: Once completely cooled, place the cookies in a freezer-safe zip-top bag or container, separated by parchment paper, for up to 3 months. Thaw them on the counter before serving.
- Freezing Dough: Roll the dough into balls and press the crisscross pattern. Place them on a parchment-lined tray in the freezer until solid. Transfer the frozen dough balls to a zip-top bag. Bake from frozen by adding 2–4 minutes to the baking time.
More Recipes You Will Love
If you’re a fan of rich, comforting desserts, don’t stop with these cookies! Here are a few more recipes I know you’ll obsess over:
- The Best Peanut Butter Brownies I’ve Ever Made (And I’ve Made A Lot)
- These Chocolate Chip Cookie Dough Brownie Bombs Are My Favorite Sweet Obsession
- These No-Bake Peanut Butter Oatmeal Bars Are My Favorite Snack To Keep On Hand
- This Edible Cookie Dough Is My Favorite No-Bake Treat for Late-Night Cravings
Final Thoughts
Baking is meant to be simple, enjoyable, and rewarding. This Peanut Butter Cookie recipe is the epitome of all three. It’s a guaranteed crowd-pleaser that takes minimal effort for maximum payoff.
Give this recipe a try this week and let me know how it goes! Did you use crunchy or creamy peanut butter? Did you add extra chocolate chips? Share your feedback in the comments below, and don’t forget to follow me on Instagram for more simple, show-stopping recipes!


Leave a Reply