Crispy Oven-Baked “Fried” Pickles: A Healthier Take on a Classic Snack
Crispy Oven-Baked “Fried” Pickles: A Healthier Take on a Classic Snack
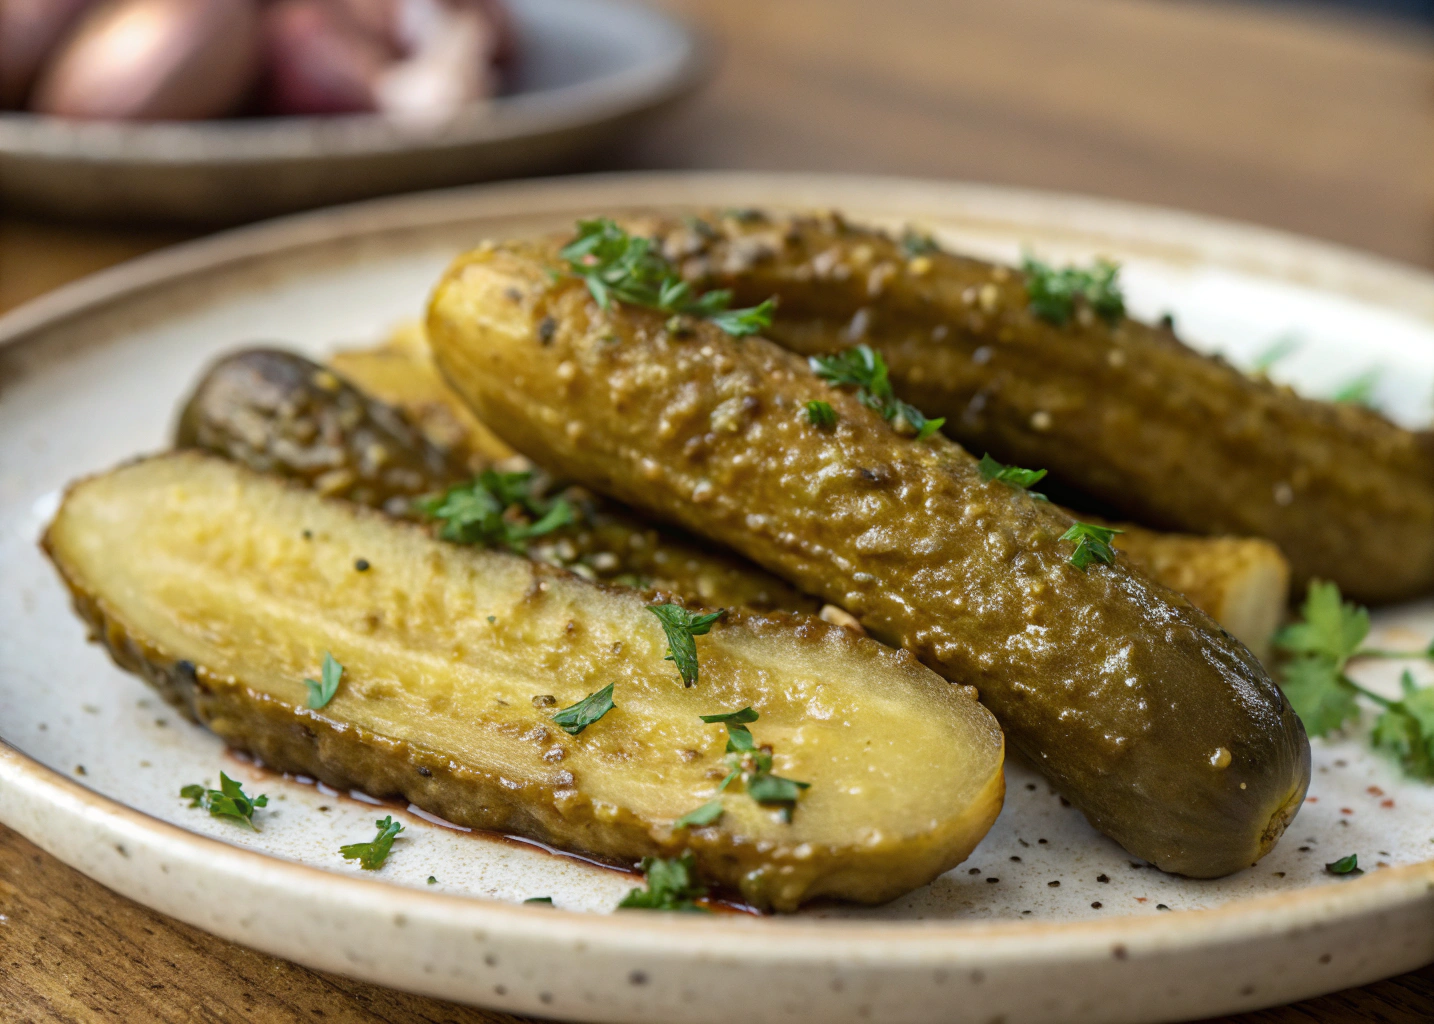
Growing up in the South, fried pickles were a staple at family gatherings and summer barbecues. The crunch of the batter, the tang of the pickles, and the joy of sharing them with loved ones created memories that I cherish to this day. As I’ve become more health-conscious, I’ve sought ways to recreate those beloved flavors without the guilt. This recipe for crispy oven-baked “fried” pickles brings back all the nostalgia while keeping things light and delicious.
What Makes It Special
This recipe stands out for several reasons:
- Healthier Alternative: By baking instead of frying, you cut down on excess oil and calories.
- Easy to Make: With just a few simple steps, you can whip up a batch in no time.
- Versatile Flavor: The seasoning can be adjusted to suit your taste, whether you prefer spicy, tangy, or savory.
- Perfect for Any Occasion: These pickles are great as a snack, appetizer, or party food!
Gather Your Ingredients
Prep Time: 15 minutes | Cook Time: 20 minutes | Servings: 4
- 1 jar of dill pickles (sliced or whole)
- 1 cup of breadcrumbs (panko for extra crunch)
- 1/2 cup of all-purpose flour
- 2 large eggs
- 1 teaspoon of garlic powder
- 1 teaspoon of paprika
- Salt and pepper to taste
- Cooking spray or olive oil for drizzling
Let’s Get Cooking
-
Preheat your oven to 425°F (220°C) and line a baking sheet with parchment paper.
-
In one bowl, place the flour. In a second bowl, whisk the eggs. In a third bowl, combine the breadcrumbs, garlic powder, paprika, salt, and pepper.
-
Dip each pickle slice into the flour, then the egg, and finally coat it with the breadcrumb mixture. Make sure each piece is well-covered.
-
Arrange the coated pickles on the prepared baking sheet. Lightly spray or drizzle them with olive oil.
-
Bake for 15-20 minutes, flipping halfway through, until they are golden brown and crispy.
My Pro Tips
-
For an extra kick, add cayenne pepper to the breadcrumb mixture.
-
Try using different types of pickles, such as spicy or bread-and-butter, for varied flavors.
-
Serve with a side of ranch dressing or spicy aioli for dipping!
What to Serve With It
- Fresh vegetable platter
- Homemade potato wedges
- Classic coleslaw
- A cold beer or sparkling lemonade
FAQs
Q: Can I use frozen pickles?
A: Yes, but make sure to thaw and drain them well before coating.
Q: How do I store leftovers?
A: Store in an airtight container in the fridge for up to 3 days. Reheat in the oven for best results.
The Heart of the Dish
What I love most about these crispy oven-baked pickles is how they bring people together. Whether it’s a casual movie night or a festive gathering, they always spark joy and conversation. Plus, they remind me of those carefree summer days spent with family, laughing and sharing stories over a plate of delicious snacks.
Your Turn
I invite you to try this recipe and make it your own! Experiment with different spices, share it with friends, and let me know how it turns out. I can’t wait to hear your thoughts and any creative twists you come up with!